Storage baskets can help organize everyday belongings while adding a decorative touch to your living space. They are useful for holding craft supplies, accessories, lightweight fabrics, and other small household items.
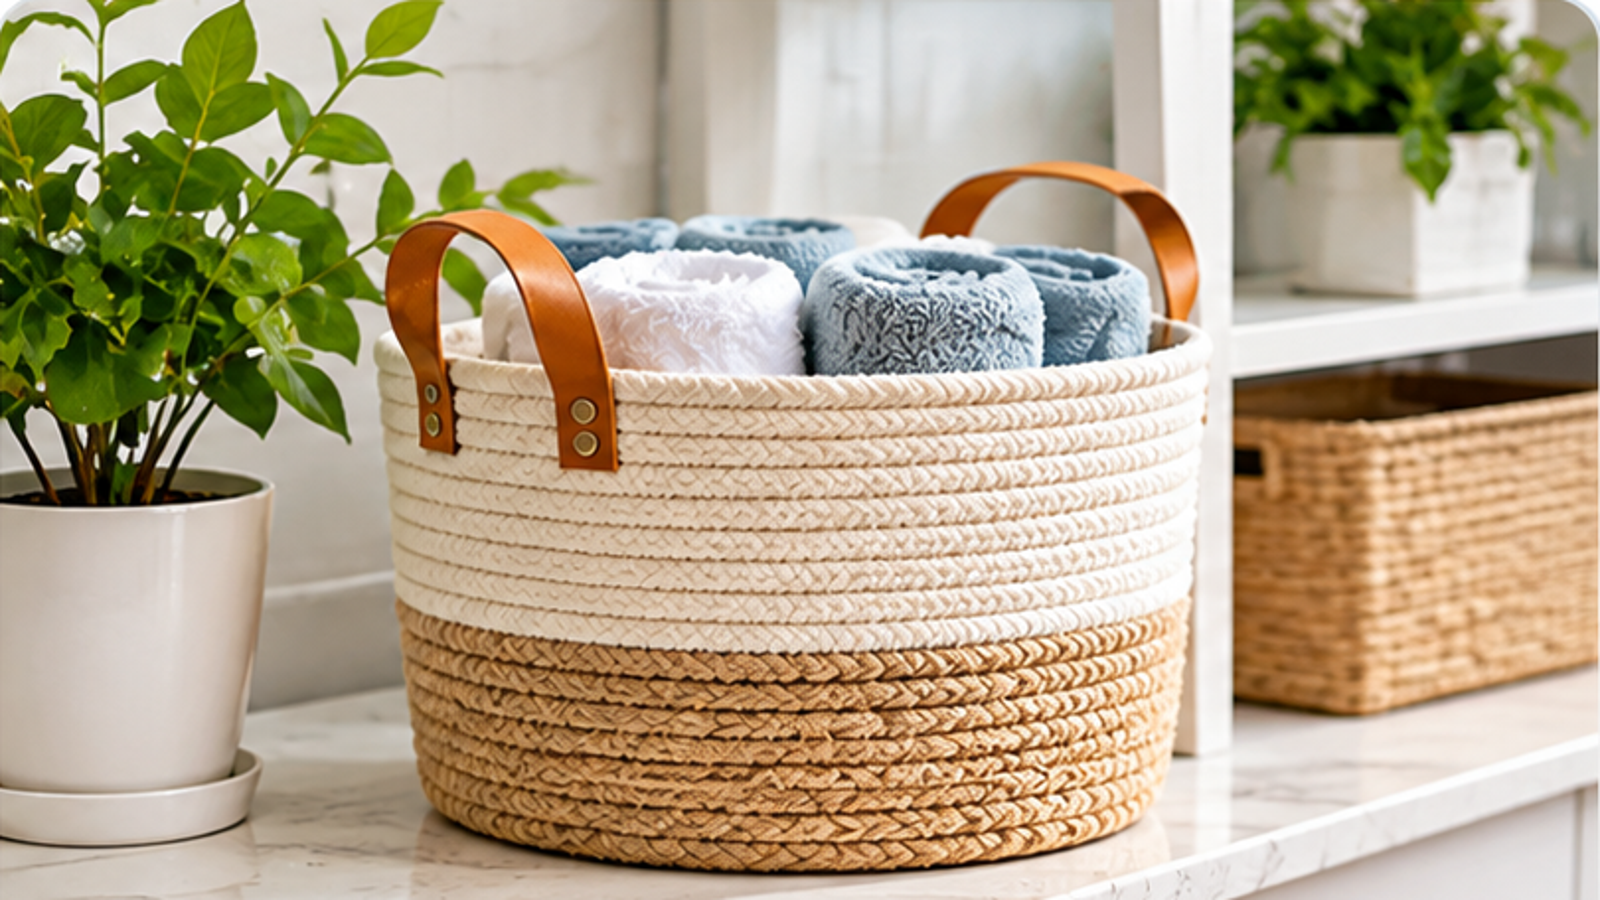
Instead of purchasing a new basket, you can create a simple version using a sturdy cardboard box, decorative rope, and leftover fabric.
This project is suitable for beginners and can be customized to match different rooms.
Materials You’ll Need
Before starting, gather:
- A sturdy cardboard box
- Natural cotton rope or decorative cord
- Fabric for the interior lining
- Craft glue suitable for cardboard and rope
- Scissors
- A ruler
- A pencil
- Clothespins or clips
Choose a box that fits the space where you plan to use the finished basket.
Keep in mind that cardboard baskets are intended for lightweight storage and should remain in dry environments.
Step 1: Choose and Prepare the Box
Select a clean box without damaged corners or weak edges.
If necessary, trim its height using appropriate cutting tools. Adults should handle sharp blades and supervise younger participants.
Check that the bottom is secure before continuing.
A rectangular box works well for shelves, while a square shape may be suitable for organizing smaller accessories.
Step 2: Attach Decorative Rope
Begin at the bottom edge of the box.
Apply a small amount of craft glue to one section and press the rope gently against the surface.
Continue wrapping the rope around the box in horizontal rows.
Keep the rows close together to create a consistent appearance.
Work slowly and allow the adhesive to hold each section before moving forward.
Follow the glue manufacturer’s drying instructions.
Step 3: Add a Fabric Lining
Measure the interior of the box, including the bottom and sides.
Cut a piece of fabric large enough to cover the inside, allowing extra material along the upper edges.
Place the fabric inside and fold the excess neatly over the rim.
Secure it using suitable fabric adhesive or another removable attachment method.
A washable or replaceable lining can make the finished basket easier to maintain.
Step 4: Personalize the Design
Once the glue has dried, consider adding small decorative details.
You might choose:
- A contrasting fabric lining
- A simple ribbon around the rim
- Neutral cotton rope
- Decorative fabric patches
- A removable label
Select materials that suit your existing décor.
Avoid attaching heavy handles unless the box has been reinforced and the construction is suitable for carrying weight.
Step 5: Find the Right Place for Your Basket
Use your finished basket to organize lightweight items such as scarves, craft materials, or small accessories.
Place it on a stable shelf or inside a cabinet.
Avoid storing wet towels, heavy books, food, or fragile objects in an ordinary cardboard basket.
Keeping Your DIY Basket in Good Condition
Dust the exterior gently with a dry cloth.
Keep the basket away from excessive moisture and direct heat.
If the cardboard becomes soft or damaged, replace it rather than continuing to use it.
Final Thoughts
A handmade storage basket can be both decorative and practical.
With simple materials and careful preparation, you can turn an ordinary cardboard box into an organizer that reflects your personal style.
Start with one basket and adapt the design for other storage spaces around your home.