Mason jar lanterns are a simple way to add warm, decorative lighting to a living room, patio, or covered outdoor space. With a few inexpensive materials, you can transform ordinary glass jars into personalized decorations.
This beginner-friendly project requires no advanced crafting skills and offers plenty of opportunities to experiment with colors and textures.
Materials You’ll Need
Gather the following supplies before starting:
- Two or three clean glass jars
- Battery-powered LED fairy lights
- Natural twine or decorative ribbon
- Artificial flowers or greenery
- Scissors
- Removable adhesive dots
- A soft cleaning cloth
Choose jars without cracks or sharp edges. Battery-powered LED lights are preferable to real candles because they avoid an open flame.
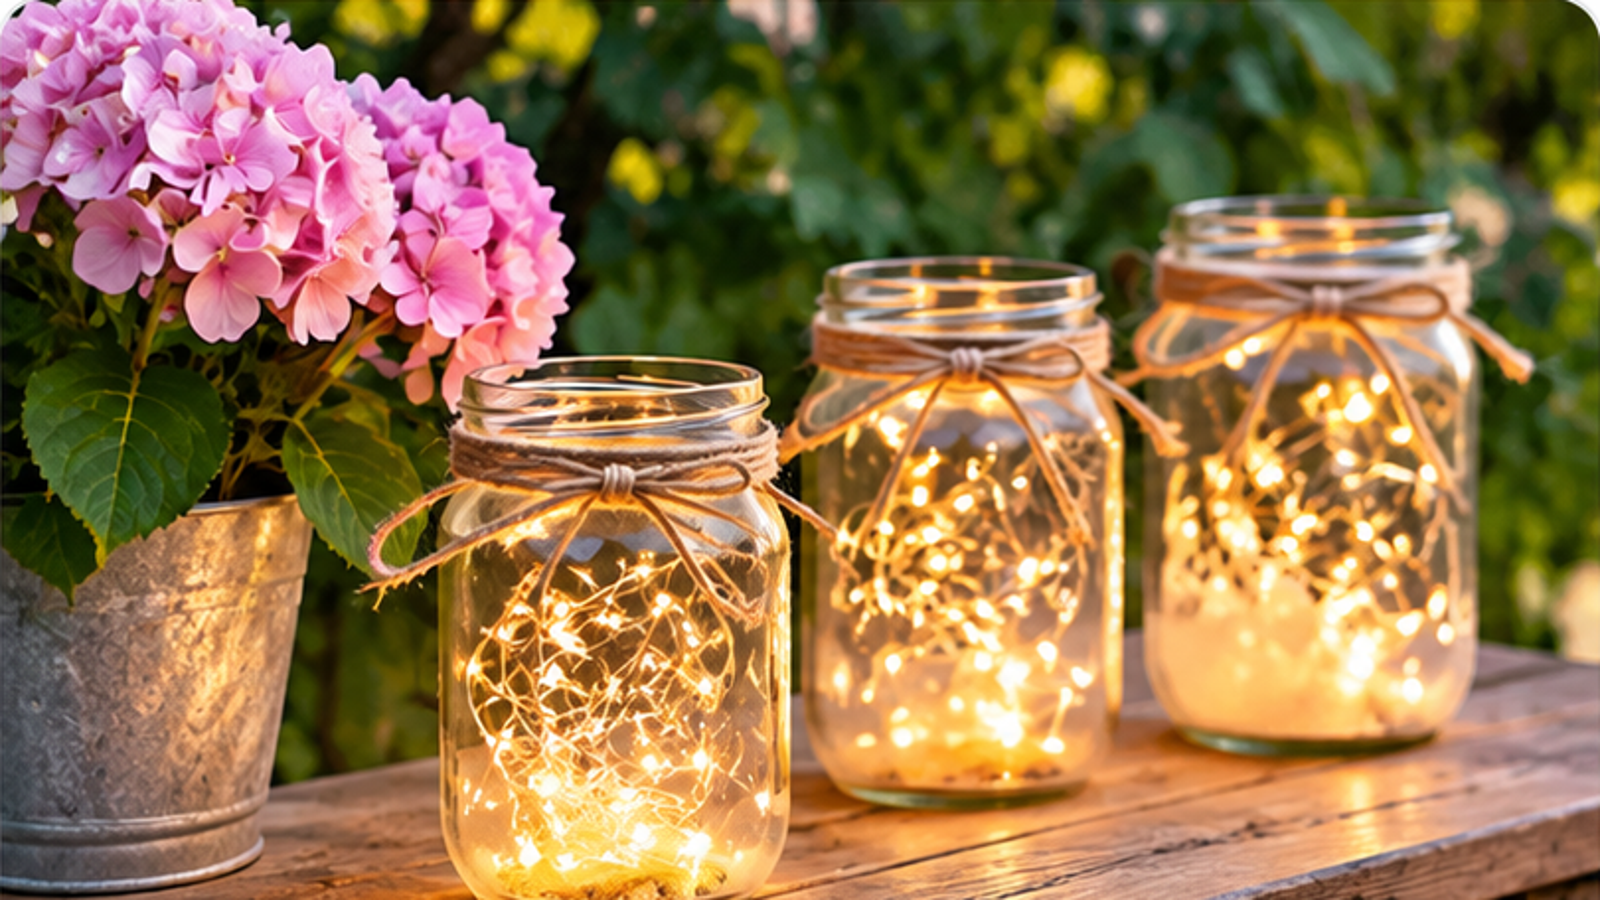
Step 1: Prepare Your Glass Jars
Wash each jar with warm water and dish soap. Remove labels and any remaining adhesive, then dry the glass thoroughly.
Inspect the jars for chips or cracks before decorating.
Clear glass allows the lights to remain visible, while lightly tinted jars can create a different decorative appearance.
Step 2: Add Decorative Lighting
Carefully place a short strand of battery-powered LED fairy lights inside each jar.
Arrange the wire loosely so the lights spread throughout the container rather than collecting at the bottom.
Keep the battery compartment accessible and follow the manufacturer’s instructions. Avoid using damaged wiring or lights not approved for the intended environment.
Do not seal the battery compartment inside an inaccessible container.
Step 3: Decorate the Outside
Wrap twine around the upper section of the jar and tie a simple bow.
For a different appearance, use ribbon that complements your room’s colors.
You can attach small artificial flowers or lightweight decorative elements to the exterior with removable adhesive.
Avoid covering switches or battery compartments.
Step 4: Create a Decorative Arrangement
Once the lanterns are complete, group them on a stable shelf, side table, or decorative tray.
Try arranging jars of different heights to create visual variety.
A set of three lanterns can work as a centerpiece on a dining table or as a decorative accent near a window.
Keep glass containers away from edges where they could fall.
Step 5: Customize for Different Seasons
One advantage of this project is that the decorations can change throughout the year.
For spring, try pastel ribbons and small artificial flowers.
During autumn, consider neutral twine and artificial leaves in warm colors.
Winter decorations might include silver ribbon or small artificial evergreen branches.
Using removable decorations makes it easier to update the design without replacing the jars.
Tips for Outdoor Use
If you plan to display lanterns outdoors, check that the lights and battery compartments are rated for outdoor conditions.
Place the jars in sheltered locations and bring them inside during unsuitable weather.
Ordinary glass jars and indoor fairy lights should not be assumed to be weatherproof.
Final Thoughts
DIY mason jar lanterns offer an approachable introduction to home decorating.
By combining clean glass jars, safe LED lighting, and a few simple decorations, you can create reusable accents for different rooms and occasions.
Experiment with colors and arrangements to find a style that complements your home.